Only the Account Admin is able to manage that. If you do not see the following options, you’re not the Account Admin.
Creating Webhooks
Now that we understand the basics of webhooks, let’s go through the process of building out our own webhook powered integration.
Creating a webhook is a two-step process. You’ll first need to set up how you want your webhook to behave through Yardman - what events should it listen to. After that, you’ll set up your server to receive and manage the payload.
Setting up a Webhook
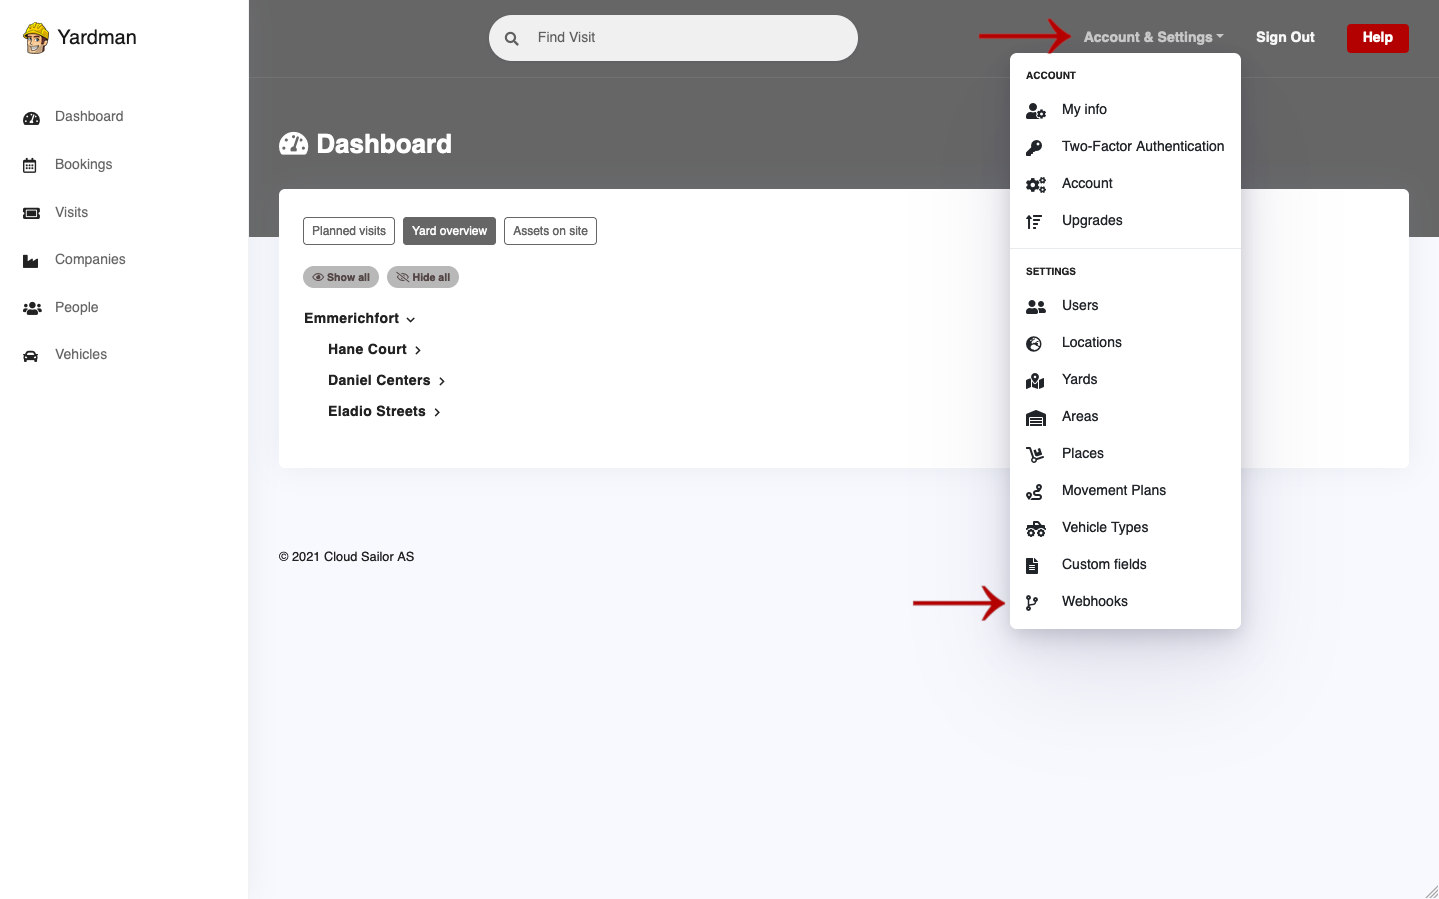
To set up a webhook, click Account & Settings
button across the top of your account, then click
Webhooks.
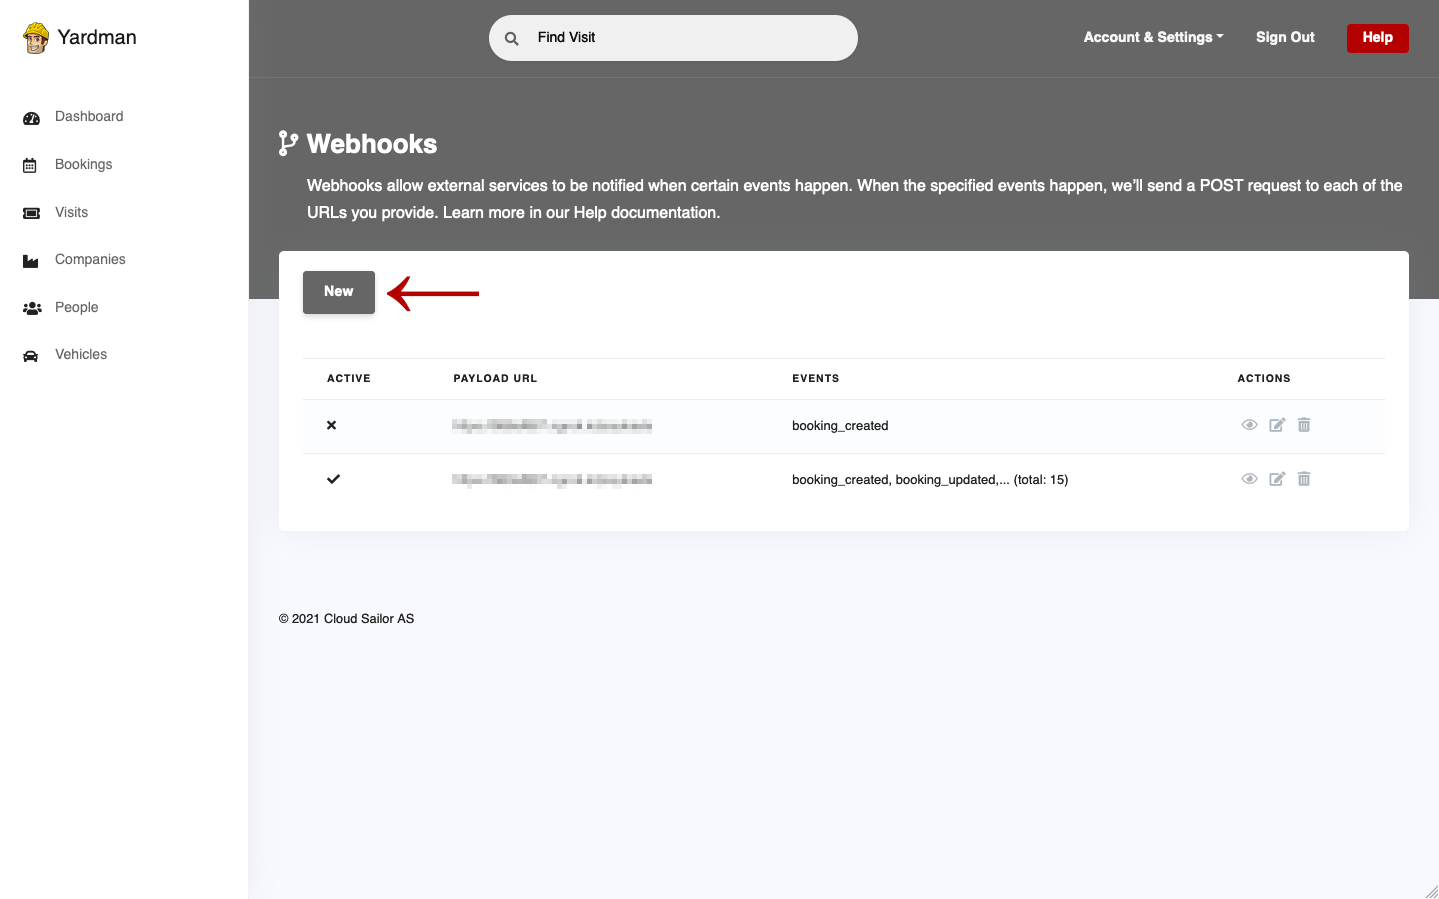
Next, on Webhooks page click the New button.
On the New Webhook page fill out the appropriate information.

Where each field is as follows.
Payload URL
The payload URL is the URL of the server that will receive the webhook POST requests.
Secret token
Setting a webhook secret token allows you to ensure that POST requests sent to
the payload URL are from Yardman. When you set a secret token, you’ll receive
the X-Yardman-Signature header in the webhook POST request. For more details
on how to use the secret token and the X-Yardman-Signature header to secure
your webhook payloads, read Webhooks Security
chapter.
Events
Events are at the core of webhooks. These webhooks fire whenever a certain action is taken on the account, which your server’s payload URL intercepts and acts upon.
A full list of webhook events with their payload details and when they execute can be found in the Event Types & Payloads chapter.
Active
By default, webhook deliveries are Active. You can choose to disable the
delivery of webhook payloads by deselecting Active.
When you’re finished, click Create Endpoint.
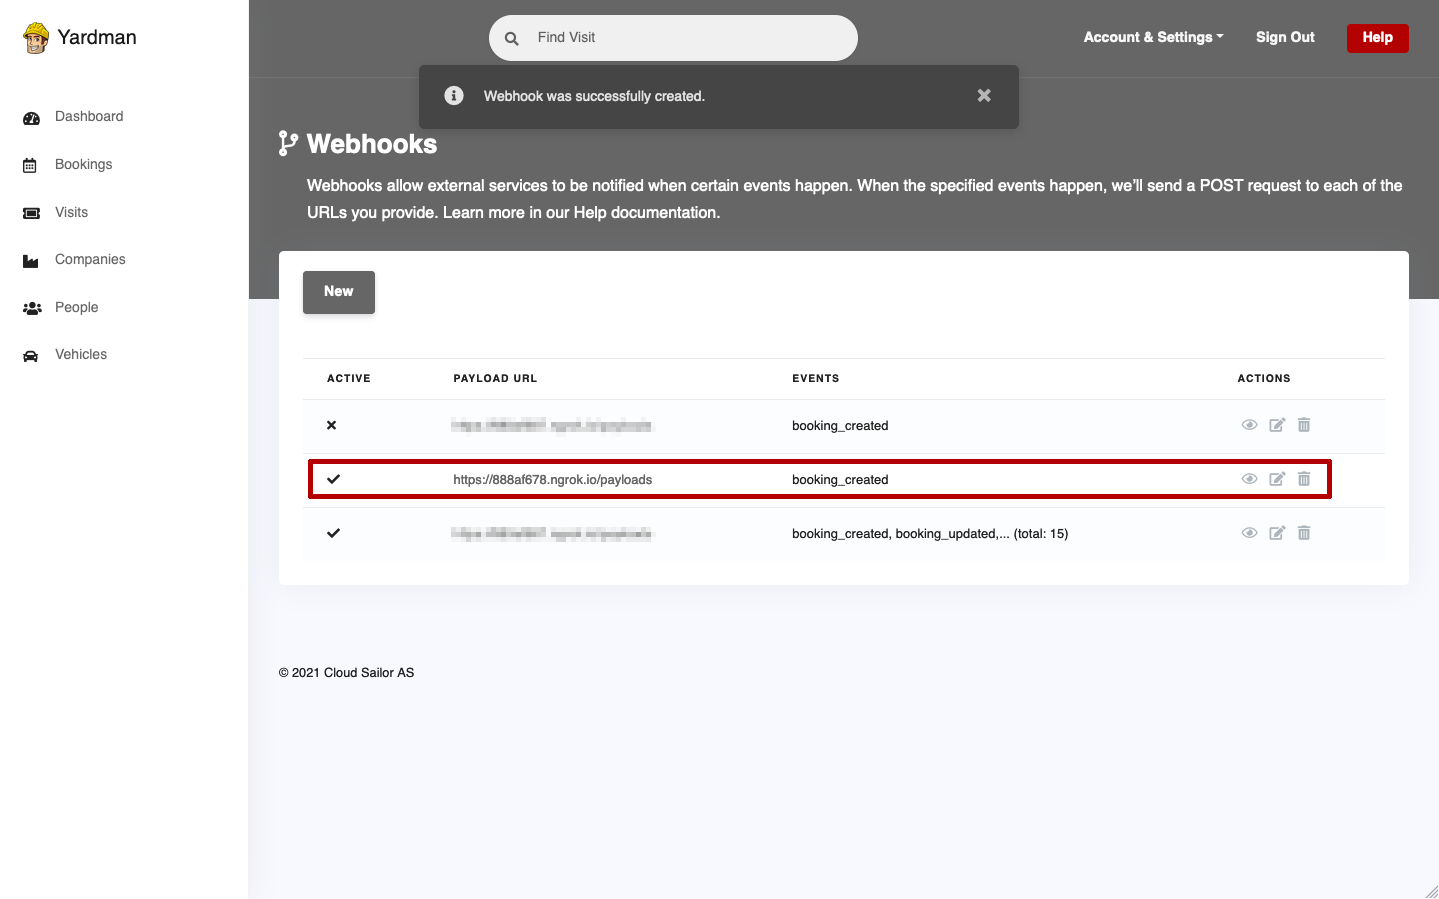
You have successfully added a new webhook to your account for this event. Done!